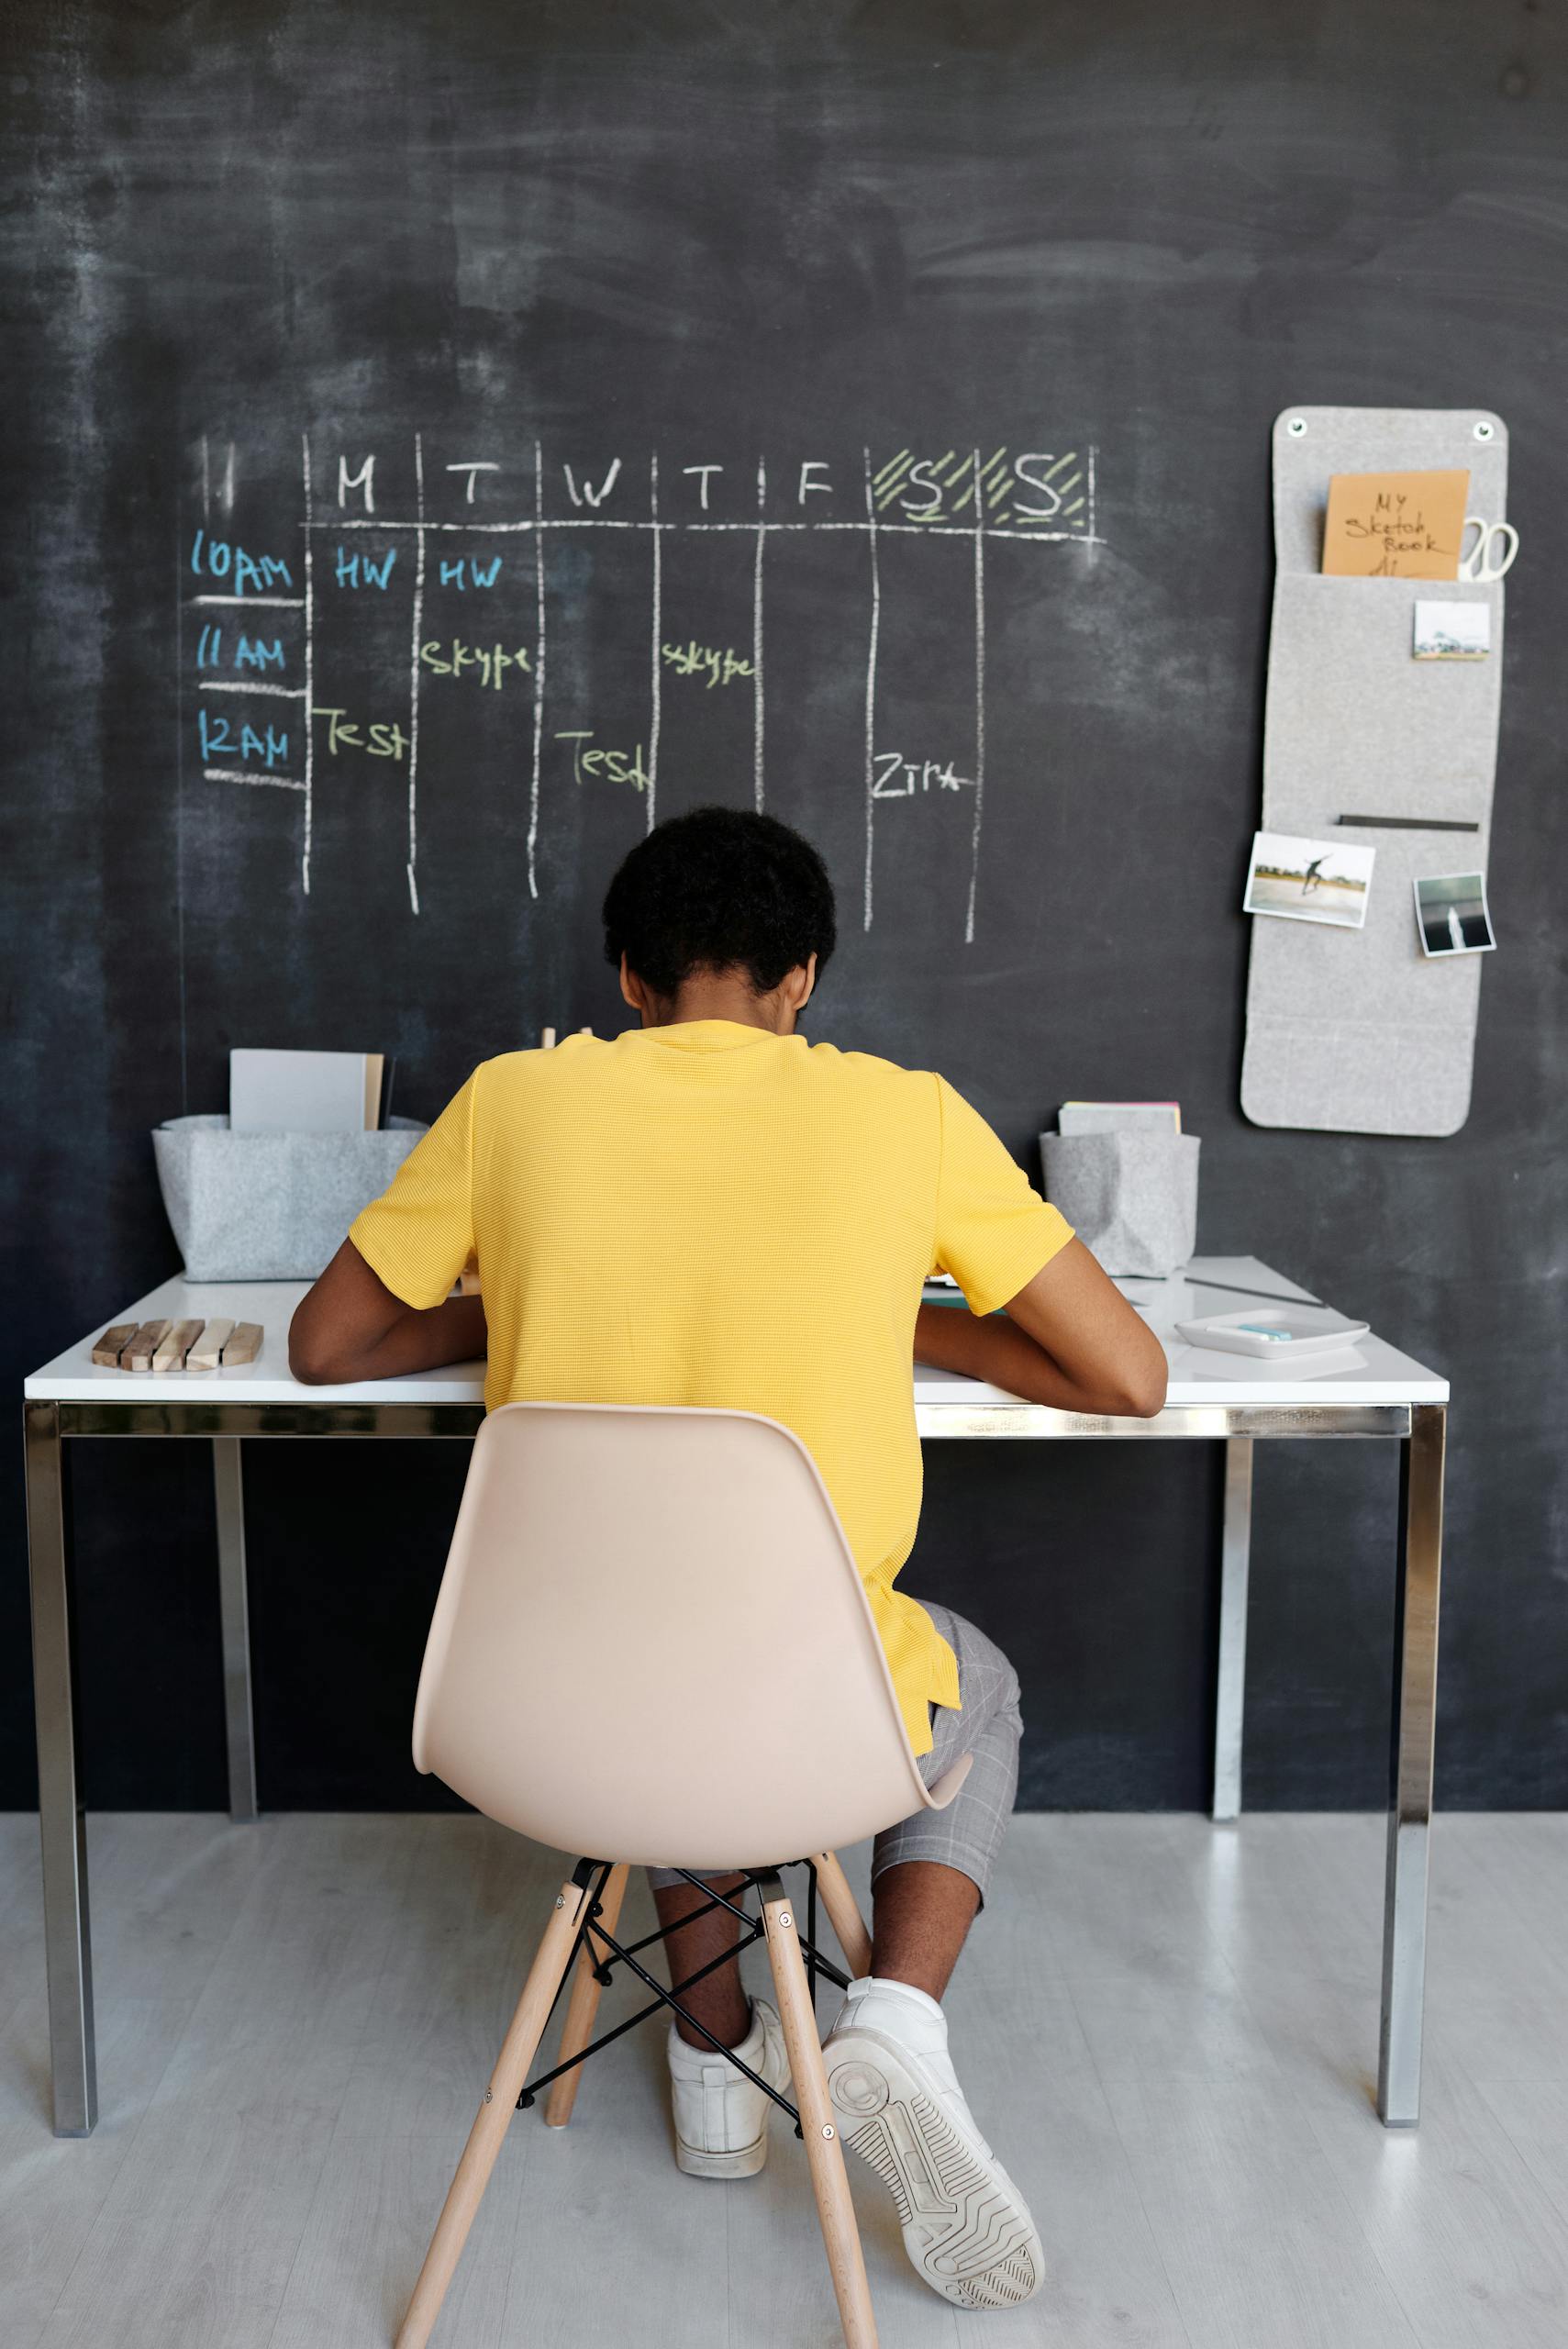
Visual schedules are one of the most practical, low‑cost tools families can use to increase independence, reduce anxiety and help build routine and stability for people on the autism spectrum. We will walk you through why they help, how to make and use them at home and options to consider so you can pick the right approach for your household.
Why visual schedules help
- Predictability: Visuals show what will happen next, reducing uncertainty that often causes anxiety and meltdowns
- Supports receptive language: For many autistic people, processing pictures or written steps can be easier than processing spoken instructions
- Promotes independence: Visual prompts allow a person to follow routines without needing to check with another person
- Improves transitions: When expectations are clear, moving from one activity to another becomes smoother
- Reinforces sequencing and time concepts: Repeated use builds understanding of order and duration
Evidence and studies on the visual support-
- Meta-analytic and clinical practice guidance show visual supports (including schedules) can improve independence, on‑task behavior, and transitions for autistic learners (e.g., Wong et al., 2015; Dettmer et al., 2000). Source summaries:
- Wong C., Odom S.L., Hume K., et al. Evidence-based practices for children, youth, and young adults with autism spectrum disorder. Except Child. 2015. (review of evidence-based interventions including visual supports). https://journals.sagepub.com/doi/10.1177/0014402915591798
- Dettmer S., Simpson R.L., Myles B.S., Morgan S.T. The use of visual supports to facilitate communication and behavior. J Positive Behav Interv. 2000. https://journals.sagepub.com/doi/10.1177/109830070000200203
How to choose the right visual schedule
- Age and developmental level
- Non‑readers- Pictures, symbols, photos, or objects
- Emerging readers- Pictures + single words
- Fluent readers- Written schedules with time labels
- Attention span
- Short attention- Small number of items, start/end cues
- Longer tasks- Break into more steps or add timers
- Mobility and context
- Home vs. school vs. community- Portable options (wallet cards, apps) for outings, wall schedules for routines at home.
- Sensory preferences
- Busy visuals may be overwhelming. Use clear, high‑contrast images and minimal text.
- Reinforcement needs
- You can combine with token systems if motivation is low
Types of visual schedules
| Option | Best for | Pros | Cons | Typical materials |
|---|---|---|---|---|
| Picture/photo strip (sequence of photos) | Non‑readers, young children | Highly concrete, familiar, easy to make | Time‑consuming to produce, less flexible for changes | Printed photos, laminating, velcro |
| Object schedule (real item represents activity) | Young children, those who respond to tactile cues | Extremely concrete, great for very young/nonverbal | Bulky, limited to available objects | Objects or object fragments, box or tray |
| Picture symbols (PECS/Mayer‑Johnson) | Non‑readers, schools using AAC systems | Standardized icons, portable | May require learning symbols | Symbol cards, laminating, binder |
| Written schedule | Older children, teens, adults who read | Compact, flexible, easy to edit | Not useful for non‑readers | Paper, whiteboard, digital file |
| Visual timetable board (large, wall-mounted) | Daily home routines | Clear visual reference for everyone, central | Not portable | Board, pictures, velcro strips |
| Portable schedule (wallet cards, keychain, app) | Outings, travel | Portable, discreet | Small images may be hard to see | Laminate pocket cards, scheduling apps |
| Digital/animated schedule (apps with audio) | Tech‑engaged users | Can add timers, audio cues, reminders | Requires device; possible screen distraction | Tablet/phone apps (Choiceworks, First Then Visual Schedule) |
How to make a visual schedule
- Decide the goal
- Example goals: smoother morning routine, successful bedtime, independent toothbrushing, calm transition at school pickup
- Choose format
- Use the decision guide above, wall board for morning routine, wallet cards for outings, photo strip for steps like toothbrushing
- Gather materials
- Camera/phone for photos, printer, laminator, scissors, adhesive Velcro, index cards, binder clips, small objects, whiteboard, magnet strips, tablet/phone with app
- Break the routine into clear, concrete steps
- Example: Morning: 1) Alarm off 2) Get dressed 3) Brush teeth 4) Eat breakfast 5) Put on shoes 6) Backpack on 7) Leave house
- Keep steps short and observable (use actions you can see)
- Create visuals
- Photos: take a clear photo of the person doing the step or of the exact item/place (e.g., photo of their backpack)
- Icons: use PECS or Widgit symbols for standardized images
- Objects: use a small object that represents the task (e.g., toothbrush head)
- Text: add single words under pictures, try to keep it simple
- Make it interactive
- Add velcro so the child can move completed items to a “done” column or remove them
- Use clothespins, magnets, or a dry‑erase box they can check off
- Set timing cues
- Use visual timers (sand timers, timer app) or clock times alongside tasks
- For variable-length tasks, include “First/Then” cards (“First homework, then play”)
- Reinforce expected behavior
- If helpful, pair with a token economy. Each completed schedule earns a token toward a preferred activity
- Teach the schedule stepwise
- Model use repeatedly, coach the child through the sequence, praise successful completion
- Start with adult guidance, fade prompts gradually so the child uses the schedule independently
- Review and adjust
- Check on a regular basis, are steps understood? Too many items? Visuals confusing? Modify accordingly

How to introduce and teach a visual schedule
- Present it at a calm moment, explain how this shows what will happen next
- Model with a practiced run-through while doing the task together
- Use physical prompting at first (hand over hand) then fade to verbal then visual only
- Reinforce every correct use early on (praise, token)
- Gradually increase independence, prompt less and allow the schedule to prompt
- Generalize to new settings by using the same symbol set and consistent layout
Specific strategies and examples
- First/Then boards- Simple two‑card boards for immediate motivation. Example: “First homework, then iPad for 10 minutes.” Great for short tasks and reducing resistance
- Visual timers with schedule- Put a Time Timer next to a step (e.g., “30 minutes reading”) so the child can watch time elapse visually
- Chaining and task analysis- Break complex tasks into fine steps (e.g., handwashing- turn on water, wet hands, soap, scrub 20s, rinse, dry). Teach each link in the chain using the schedule
- Choice and control- Offer a visual choice between two acceptable options (e.g., “Which shirt?” with two shirts pictured). This reduces power struggles while preserving structure
- Transition warnings- Add a countdown (5‑minute, 1‑minute) using visual cues or timers before a planned change to reduce abrupt transitions
- Portable schedule- For outings where routines differ, carry a simple card that shows a few key steps (e.g., “In store: walk, hold hand, choose 1 item, leave”)
Troubleshooting common problems
- “They ignore it.”
- Ensure visuals are motivating and understandable, begin with fewer steps, use immediate reinforcement; model consistently
- “Too many meltdowns during transitions.”
- Add more advance warning, use shorter tasks or break down steps, include a preferred item after the transition, check sensory triggers
- “They outgrow it / lose interest.”
- Increase complexity (add words, times), change visuals to be age‑appropriate, involve the person in making the schedule
- “Schedules become cluttered and confusing.”
- Simplify: limit to 3–6 items for short routines, use clear images and white space, remove unnecessary decorations
- “Different caregivers use different systems.”
- Standardize visuals across settings, use the same photos or symbols and consistent language. Share printable sets with schools and babysitters
When visual schedules might need professional help
- If resistance persists despite careful implementation or if behavior escalates, consult a speech therapist, occupational therapist or BCBA. They can evaluate communication needs, sensory issues and help with appropriate behavior plans
How to how to track progress
- Baseline- record current frequency of independent task completion, number/duration of transitions and frequency of meltdowns over 1-2 weeks
- Targets- set measurable goals (e.g., “Independent morning routine completion 4/5 mornings in week 8”)
- Tracking tools- simple chart or app to log daily success; graph weekly to monitor trends
- Expected timeline- Many families see improvements within 2-8 weeks, with increased independence over months. (Evidence in practice-based literature shows visual supports assist skill acquisition and behavior regulation when consistently applied.)

Sample idea using toothbrushing
| Step # | Visual | Observable behavior | Cue to move on |
|---|---|---|---|
| 1 | Photo: Toothbrush | Picks up toothbrush | Toothbrush held |
| 2 | Photo: Toothpaste | Squeezes paste on brush | Paste on brush |
| 3 | Photo: Brushing | Brushes 20 sec | Timer finished |
| 4 | Photo: Rinse | Rinses mouth | Cup empty |
| 5 | Photo: Smile | Puts brush away | Brush in holder |
Final tips
- Start small, one routine at a time
- Be consistent across caregivers
- Make visuals clear and uncluttered
- Use positive language and pair schedules with praise
- Review and update, what works will evolve